
I am not a gunsmith nor do I play one on television. That said, I like to be able to do minor things such as mount a scope or assemble an AR lower. I can add something new to my repertoire – cold bluing.
I am having a friend help me re-barrel my older Savage 111 to .338-06 A-Square. Since I was going to all this trouble I thought I should put a new recoil lug on it. The factory recoil lug is stamped whereas a high quality machined lug would be parallel front and back. I got one in 4140 alloy steel from Pacific Tool and Gauge that was 0.228 inches thick. I could have gone with stainless but the rest of the rifle is blued.
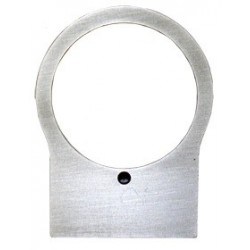
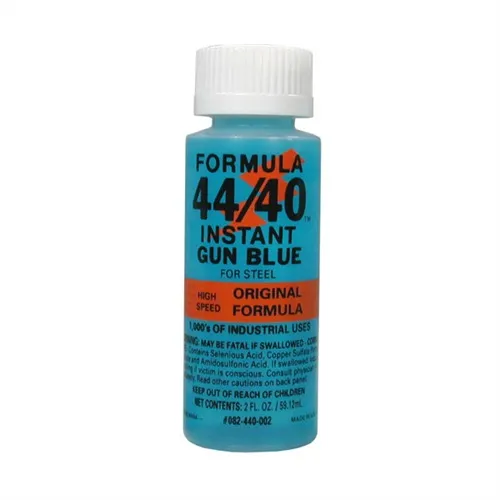
To protect the steel from rusting, I could have just painted it with anything from Rust-Oleum to VHT auto paint. However, paint can chip. What doesn’t chip is bluing nor does it change the dimensions of the part. I don’t have access to a hot bluing tank and rust bluing would have taken more time than I wanted to devote to this. So that left cold bluing. There were many different products to choose from but eventually I went with Brownell’s Formula 44/40 Instant Gun Blue which I ordered from Amazon. I have chatted with a tech at Brownell’s before I placed my order and he confirmed it would work on my steel alloy.
The whole process could not have been simpler. I think from start to finish it took less than 20 minutes while sitting at our kitchen table. I started by cleaning all the oils off the recoil lug with brake cleaner (outside!). I cleaned it twice. While it was drying I assembled some Q-tips, cotton balls, and gauze. Then, while wearing nitrile gloves, I heated up the lug using a hair dryer. When it was hot to the touch, I applied the first coat of Formula 44/40 and then wiped it off. I ran it under hot water to neutralize the bluing and then dried it off. Checking it over, I decided a second coat was needed and repeated heating it with a hair dryer. I gave the lug a good, liberal coat of the bluing and then wiped it off. After rinsing in hot water again, I coated it in Ballistol gun oil and put it in a ziplock bag. The lug now has a dark blue matte finish which will match the rest of the rifle.
I’m not sure if I’d do a whole gun or even a barrel with cold bluing but for a small part it was perfect. I think it is also great for touching up scratches or wear spots. As to the Brownell’s Formula 44/40, it worked well for me. Brownells also has Oxpho-Blue which has a good reputation. Birchwood Casey is another company making a number of cold bluing products. As with all things, ask questions and go from there.
If you have multiple small parts to do and good safety habits, nitre blueing is pretty fun and quick. You can do a lot of pins and screws in one session and then it doesn’t matter that it isn’t the world’s toughest finish because you have spares ready.
Back in 1980 or so, I had my dad’s 2 old 12 gauge, bolt action shot guns, since I was the only one of 4 boys in the family interested in using them for hunting. They were from the 1950’s, not worth .lot, and I decided to reblue and redo the stock and metal work.
I used a wire brush in my bench grinder to here the old finish off the metal, it worked much better than I expected. Then I used acetone to clean the entire gun, ensuring that the metal was clean and oil free.
I applied the cold blue, I can’t remember the brand but I think that it might have been Birchwood-Casey. I Let it set for an appropriate time, then opened it up and I had a barrel that looked like it grew a fuzzy jacket. I tried to keep my composure and just have it a sponge bath, with plain water. I’m just 3-4 minutes, I was left with a much nicer looking metal barrel and assorted parts, that I had also done.
The metal didn’t have that deep and dark blue-black look that I was hoping for, so I repeated the while process, including the wire brush Inc between the application process of bluing. After the second time, I couldn’t believe how good it turned out.
I did the stocks, which were just basic woodworking skills, with the goal of taking care of a couple of bad dings on the nicer guns stock. I did that with a hot iron, a very damp rag, and allowing the steam time to swell the wood fibers back until they were a little too high, and then sanded the area smooth. I stained that stoc, then put on a couple of top costs called Deft, sanding lightly in between coats.
The other stock I just did a varnish finish, with several coats and sanding in between each coat.
I have to admit that the gun that I judged as nicer ended up looking much nicer, after I was through. No doubt due to my attitude and taking extra time and care with that one. I had never used cold flying before, it was a new experience for me. I was impressed, and this was some 40 + years ago. I am much more savvy when it comes to using hand tools and at working with my hands. My dad was a great man, and I learned my character from him. But he never was good at being mechnicaly inclined. I spend pretty much my whole working career in a steel making facility. It took me 35+ years to learn how to get really proficient with hand tools, welding, and troubleshooting equipment that is not working. It was a small shop when I hired in,so the guys running the equipment also helped the maintenance man fix it so they were not down too long.